Using Python
Overview
Quarto supports executable Python code blocks within markdown. This allows you to create fully reproducible documents and reports—the Python code required to produce your output is part of the document itself, and is automatically re-run whenever the document is rendered.
If you have Python and the jupyter package installed then you have all you need to render documents that contain embedded Python code (if you don’t, we’ll cover this in the installation section below). Next, we’ll cover the basics of creating and rendering documents with Python code blocks.
Code Blocks
Code blocks that use braces around the language name (e.g. ```{python}) are executable, and will be run by Quarto during render. Here is a simple example:
---
title: "matplotlib demo"
format:
html:
code-fold: true
jupyter: python3
---
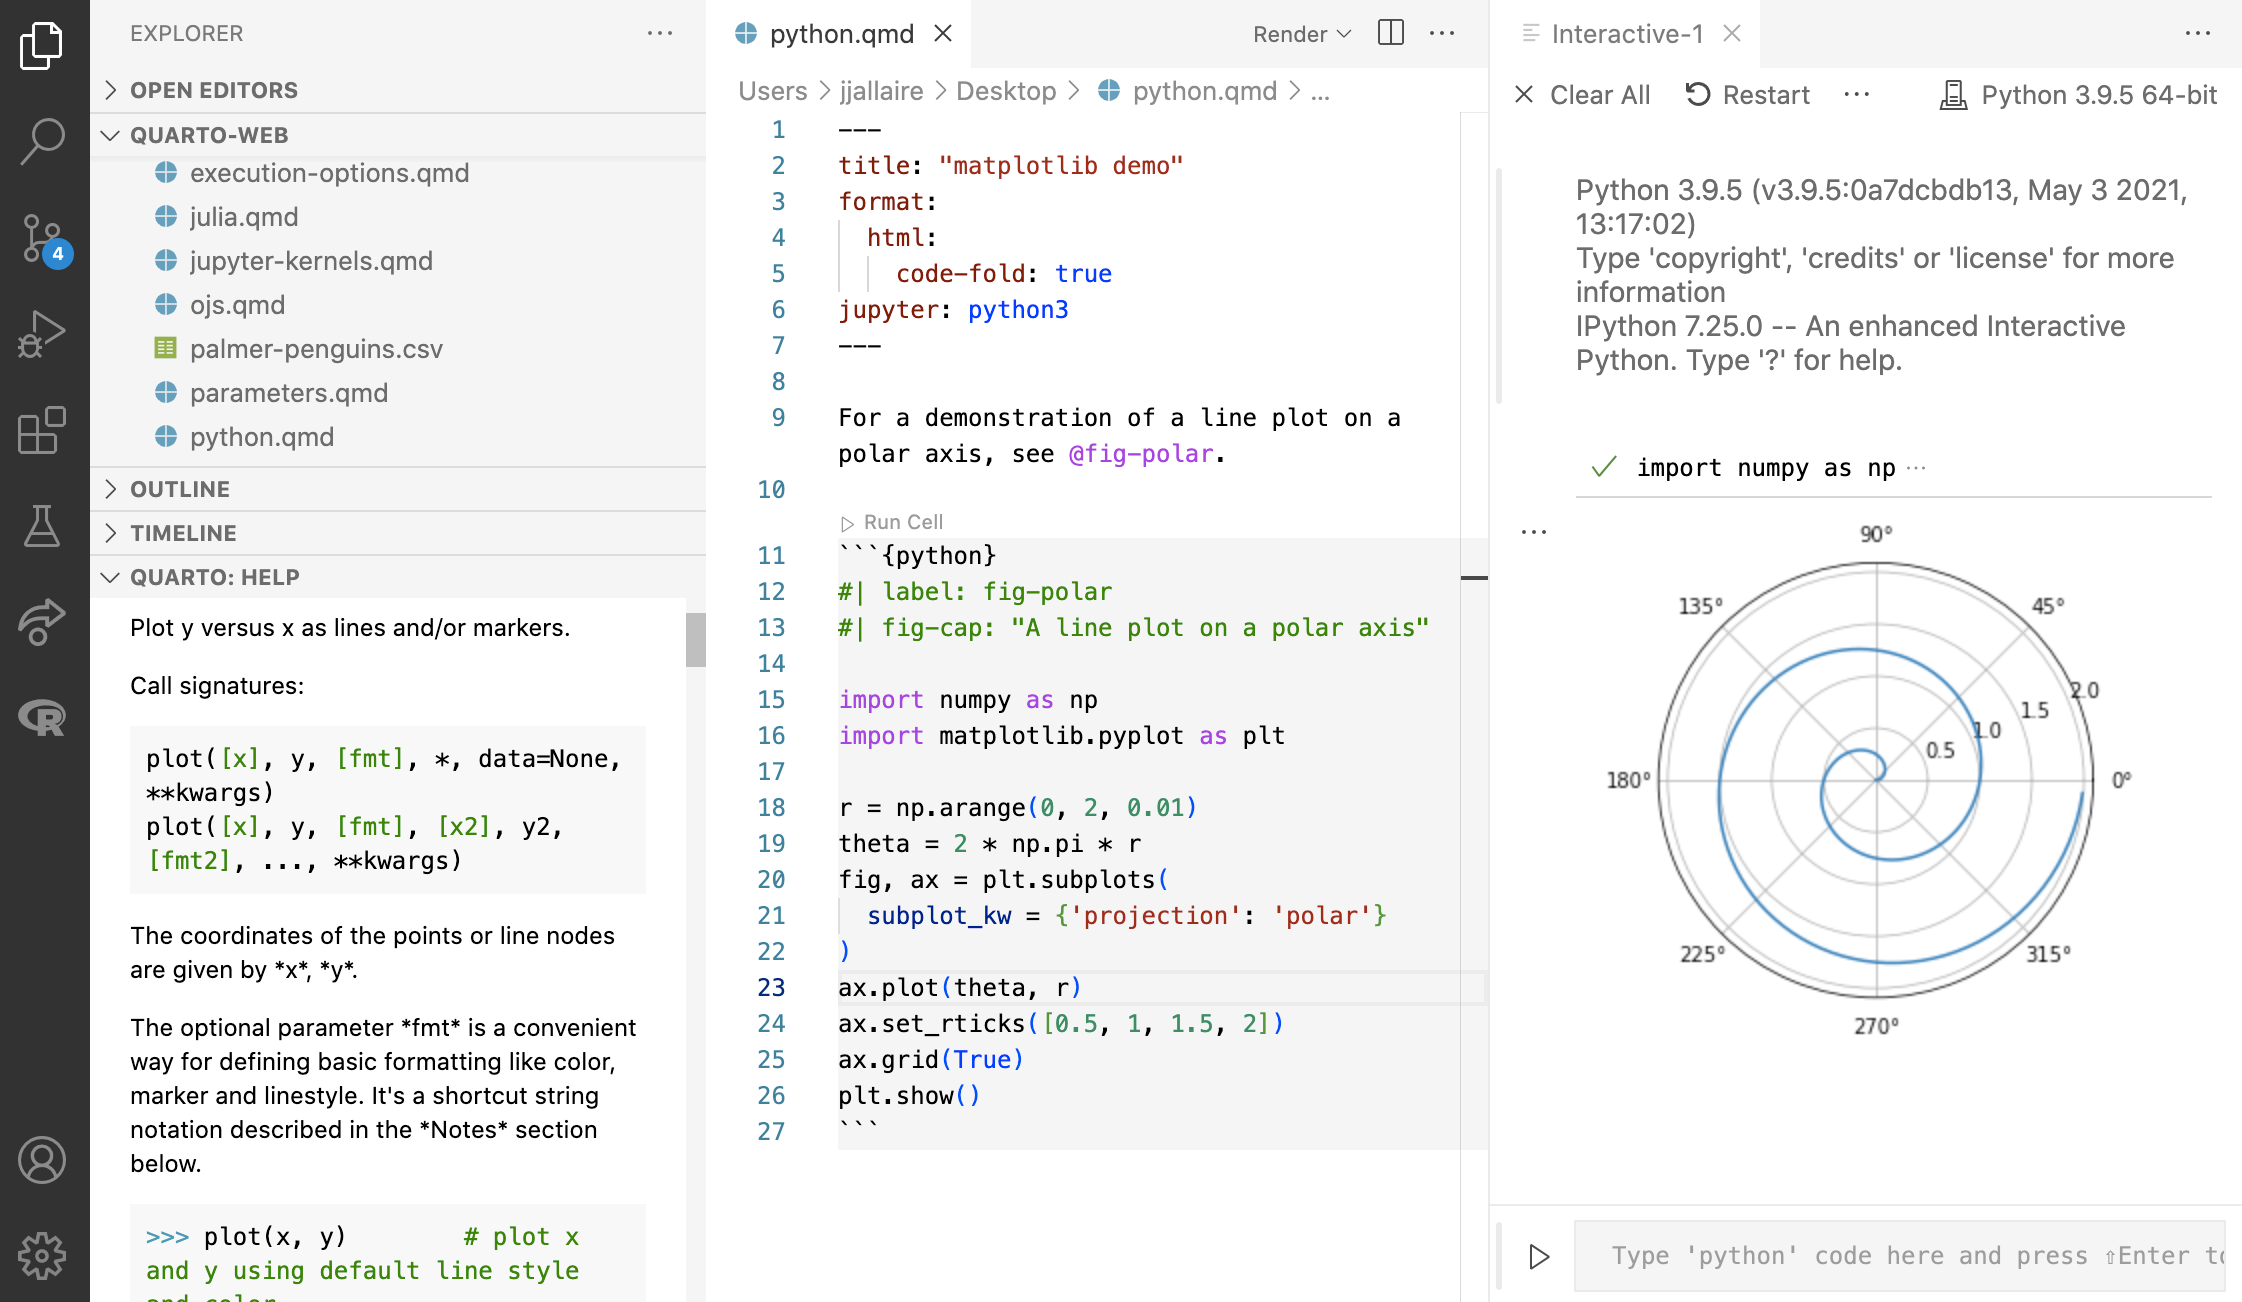
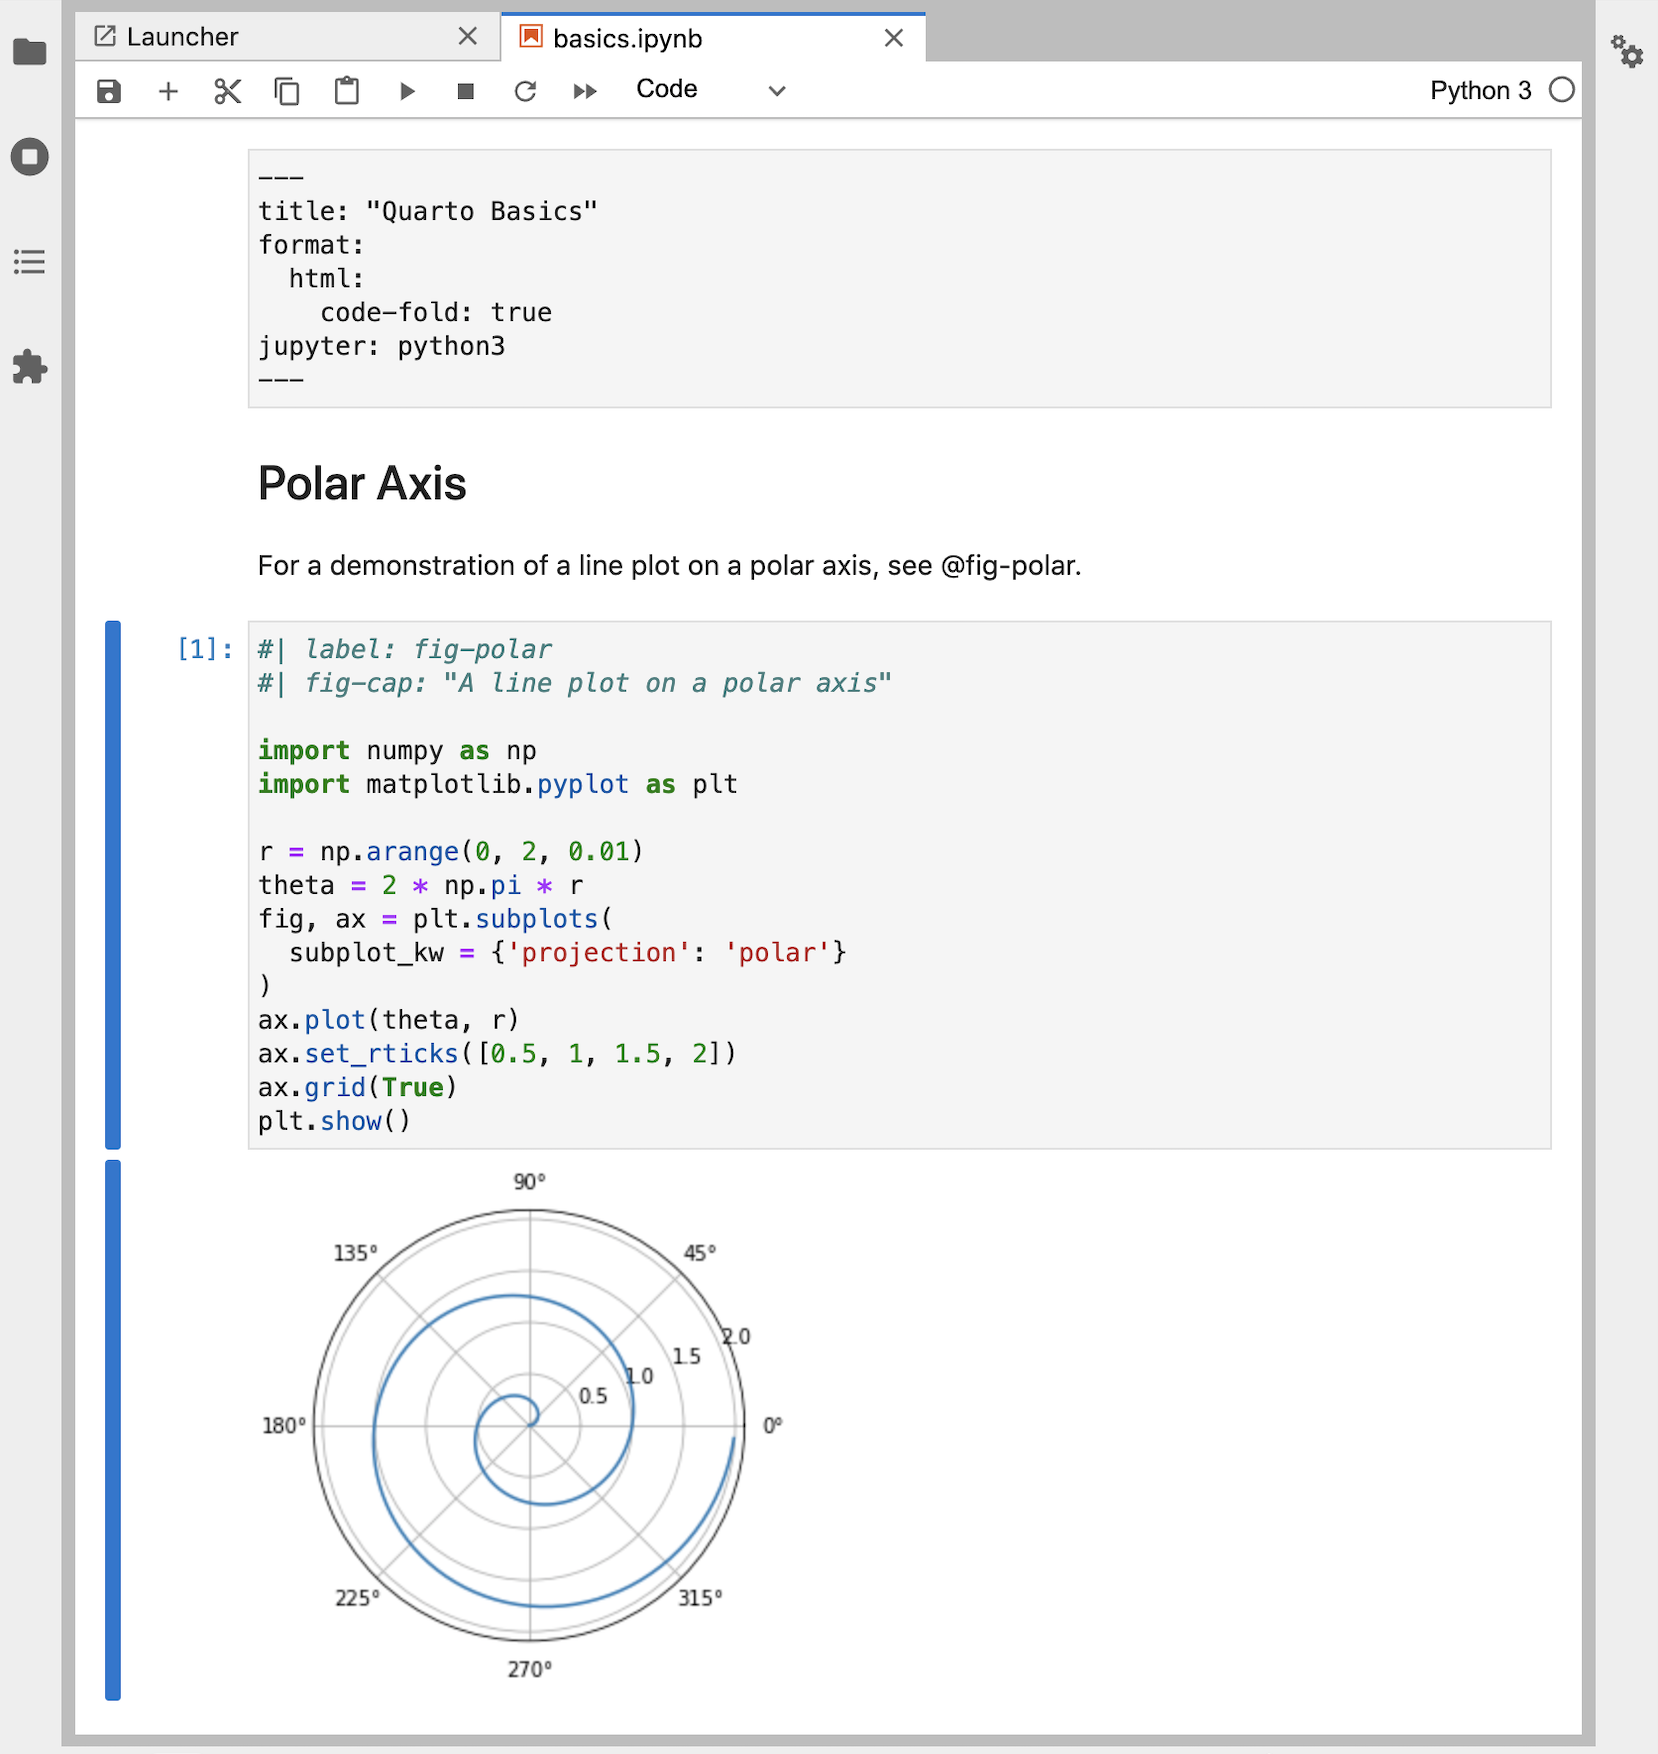
For a demonstration of a line plot on a polar axis, see @fig-polar.
```{python}
#| label: fig-polar
#| fig-cap: "A line plot on a polar axis"
import numpy as np
import matplotlib.pyplot as plt
r = np.arange(0, 2, 0.01)
theta = 2 * np.pi * r
fig, ax = plt.subplots(
subplot_kw = {'projection': 'polar'}
)
ax.plot(theta, r)
ax.set_rticks([0.5, 1, 1.5, 2])
ax.grid(True)
plt.show()
```You’ll note that there are some special comments at the top of the code block. These are cell level options that make the figure cross-referenceable.
This document would result in the following rendered output:

You can produce a wide variety of output types from executable code blocks, including plots, tabular output from data frames, and plain text output (e.g. printing the results of statistical summaries).
There are many options which control the behavior of code execution and output, you can read more about them in the article on Execution Options.
In addition to code blocks which interrupt the flow of markdown, you can also include code inline. Read more about inline code in the Inline Code article.
Rendering
Quarto will automatically run computations in any markdown document that contains executable code blocks. For example, the example shown above might be rendered to various formats with:
Terminal
quarto render document.qmd # all formats
quarto render document.qmd --to pdf
quarto render document.qmd --to docx
The render command will render all formats listed in the document YAML. If no formats are specified, then it will render to HTML. You can also provide the --to argument to target a specific format.
Quarto can also render any Jupyter notebook (.ipynb):
Terminal
quarto render document.ipynbNote that the target file (in this case document.qmd) should always be the very first command line argument.
Note that when rendering an .ipynb Quarto will not execute the cells within the notebook by default (the presumption being that you already executed them while editing the notebook). If you want to execute the cells you can pass the --execute flag to render:
Terminal
quarto render notebook.ipynb --executeInstallation
If you already have Python 3 and Jupyter installed in your environment, then you should have everything required to render Jupyter notebooks with Python kernels.
If you don’t yet have Python 3 on your system, we recommend you install a version using the standard installer from https://www.python.org/downloads/.
If you are in a fresh Python 3 environment, installing the jupyter package will provide everything required to execute Jupyter kernels with Quarto:
| Pkg. Manager | Command |
|---|---|
| Pip (Mac/Linux) |
Terminal |
| Pip (Windows) |
Terminal |
| Conda | Terminal |
You can verify that Quarto is configured correctly for Jupyter with:
Terminal
quarto check jupyterQuarto will select a version of Python using the Python Launcher on Windows or system PATH on MacOS and Linux. You can override the version of Python used by Quarto by setting the QUARTO_PYTHON environment variable.
If you are using a virtual environment with your environment or project, see more at Virtual Environments.
Workflow
You can author Quarto documents that include Python code using any text or notebook editor. No matter what editing tool you use, you’ll always run quarto preview first to setup a live preview of changes in your document. Live preview is available for both HTML and PDF output. For example:
Terminal
# preview as html
quarto preview document.qmd

# preview as pdf
quarto preview document.qmd --to pdf

# preview a jupyter notebook
quarto preview document.ipynb
Note that when rendering an .ipynb Quarto will not execute the cells within the notebook by default (the presumption being that you have already executed them while editing the notebook). If you want to execute the cells you can pass the --execute flag to render:
Terminal
quarto render notebook.ipynb --executeYou can also specify this behavior within the notebook’s YAML front matter:
notebook.ipynb
---
title: "My Notebook"
execute:
  enabled: true
---
Embed Notebooks
In addition to including executable Python code chunks in a Quarto document, you can also embed cells from an external Jupyter Notebook (.ipynb). See Embedding Jupyter Notebook Cells for more details.
Positron
The Quarto Extension is bundled with Positron, and provides a variety of tools for working with .qmd files. The extension integrates directly with Positron’s native Python support to provide code completion, cell execution and side-by-side preview of Quarto documents.


The extension includes a Quarto: Preview command that can be accessed via the Command Palette, the keyboard shortcut , or a Preview button (![]()
![]() ) in the editor toolbar. After rendering, a preview is displayed in the Viewer pane within Positron.
) in the editor toolbar. After rendering, a preview is displayed in the Viewer pane within Positron.
You can read more about using Positron in Tools: Positron.
You can also use the Positron notebook editor to create .ipynb notebooks that you will render with Quarto. The Jupyter Lab section discusses using notebooks with Quarto in the context of Jupyter Lab, but the same concepts apply to Positron.
VS Code
The Quarto Extension for VS Code provides a variety of tools for working with .qmd files in VS Code. The extension integrates directly with the Python Extension to provide the following Python-specific capabilities:
- Code completion
- Cell execution
- Contextual help
You can install the VS Code extension by searching for ‘quarto’ in the extensions panel or from the extension marketplace.
You can also use the VS Code notebook editor to create Python notebooks that you will render with Quarto. The next section discusses using notebooks with Quarto in the context of Jupyter Lab, but the same concepts apply to VS Code.
Jupyter Lab
We could convert the simple document.qmd we used as an example above to a Jupyter notebook using the quarto convert command. For example:
Terminal
quarto convert document.qmdIf we open this notebook in Jupyter Lab and execute the cells, here is what we see:
Note that there are three different types of cell here:
- The YAML document options at the top are in a Raw cell.
- The heading and explanation are in a Markdown cell.
- The Python code and its output are in a Code cell.
When working in a Jupyter notebook, you can use quarto preview to provide a live preview of your rendered document:
Terminal
quarto preview document.ipynbThe preview will be updated every time you save the notebook in Jupyter Lab.
Caching
Jupyter Cache enables you to cache all of the cell outputs for a notebook. If any of the cells in the notebook change then all of the cells will be re-executed.
To use Jupyter Cache you’ll want to first install the jupyter-cache package:
| Platform | Command |
|---|---|
| Mac/Linux | Terminal |
| Windows | Terminal |
To enable the cache for a document, add the cache option. For example:
---
title: "My Document"
format: html
execute:
  cache: true
---
You can also specify caching at the project level. For example, within a project file:
project:
  type: website

format:
  html:
    theme: united

execute:
  cache: true
Note that changes within a document that aren’t within code cells (e.g. markdown narrative) do not invalidate the document cache. This makes caching a very convenient option when you are working exclusively on the prose part of a document.
Jupyter Cache include a jcache command line utility that you can use to analyze and manage the notebook cache. See the Jupyter Cache documentation for additional details.
Rendering
You can use quarto render command line options to control caching behavior without changing the document’s code. Use options to force the use of caching on all chunks, disable the use of caching on all chunks (even if it’s specified in options), or to force a refresh of the cache even if it has not been invalidated:
Terminal
# use a cache (even if not enabled in options)
quarto render example.qmd --cache

# don't use a cache (even if enabled in options)
quarto render example.qmd --no-cache

# use a cache and force a refresh
quarto render example.qmd --cache-refresh
Alternatives
If you are using caching to mitigate long render-times, there are some alternatives you should consider alongside caching.
Disabling Execution
If you are working exclusively with prose / markdown, you may want to disable execution entirely. Do this by specifying the enabled: false execute option For example:
---
title: "My Document"
format: html
execute:
  enabled: false
---
Note that if you are authoring using Jupyter .ipynb notebooks (as opposed to plain-text .qmd files) then this is already the default behavior: no execution occurs when you call quarto render (rather, execution occurs as you work within the notebook).
Freezing Execution
If you are working within a project and your main concern is the cumulative impact of rendering many documents at once, consider using the freeze option.
You can use the freeze option to denote that computational documents should never be re-rendered during a global project render, or alternatively only be re-rendered when their source file changes:
execute:
freeze: true # never re-render during project renderexecute:
freeze: auto # re-render only when source changesNote that freeze controls whether execution occurs during global project renders. If you do an incremental render of either a single document or a project sub-directory then code is always executed. For example:
Terminal
# render single document (always executes code)
quarto render document.qmd

# render project subdirectory (always executes code)
quarto render articles
Learn more about using freeze with projects in the article on managing project execution.
Kernel Selection
The Jupyter kernel used by Quarto is determined using the jupyter metadata option. For example, to use the Xeus Python kernel, do this:
---
title: "My Document"
jupyter: xpython
---
Note that you can also provide a full kernelspec, for example:
---
title: "My Document"
jupyter:
  kernelspec:
    name: "xpython"
    language: "python"
    display_name: "Python 3.7 (XPython)"
---
If no Jupyter kernel is specified, then the kernel is determined by finding an available kernel that supports the language of the first executable code block found within the file (e.g. ```{python}).
If you are using a kernel that is contained within an external conda environment you need to take an extra step to make sure it is recognized by Quarto. Please follow the instructions here to make conda managed kernels available:
https://github.com/Anaconda-Platform/nb_conda_kernels#use-with-nbconvert-voila-papermill
Note that this step is not required if you are merely using conda with Quarto. It applies to using kernels other than the default Python kernel that happen to be installed within a conda environment separate from the one you are using.
Kernel Daemon
To mitigate the start-up time for the Jupyter kernel Quarto keeps a daemon with a running Jupyter kernel alive for each document. This enables subsequent renders to proceed immediately without having to wait for kernel start-up.
The purpose of the daemon is to make render more responsive during interactive sessions. Accordingly, no daemon is created when documents are rendered without an active tty or when they are part of a batch rendering (e.g. in a Quarto Project).
Note that Quarto does not use a daemon by default on Windows (as some Windows systems will not allow the socket connection required by the daemon).
You can customize this behavior using the daemon execution option. Set it to false to prevent the use of a daemon, or set it to a value (in seconds) to determine the period after which the daemon will timeout (the default is 300 seconds). For example:
execute:
daemon: falseexecute:
daemon: 60Note that if you want to use a daemon on Windows you need to enable it explicitly:
execute:
  daemon: true
Command Line
You can also control use of the Jupyter daemon using the following command line options:
Terminal
# use a daemon w/ default timeout (300 sec)
quarto render document.qmd --execute-daemon

# use a daemon w/ an explicit timeout
quarto render document.qmd --execute-daemon 60

# prevent use of a daemon
quarto render document.qmd --no-execute-daemon
You can also force an existing daemon to restart using the --execute-daemon-restart command line flag:
Terminal
quarto render document.qmd --execute-daemon-restart This might be useful if you suspect that the re-use of notebook sessions is causing an error.
Finally, you can print extended debugging information about daemon usage (startup, shutdown, connections, etc.) using the --execute-debug flag:
Terminal
quarto render document.qmd --execute-debugConditional Execution
To execute a cell only for certain output formats, read the QUARTO_EXECUTE_INFO environment variable inside the cell. For example, you could execute code only if the target format is based on HTML (e.g. for html, revealjs, and dashboard formats):
```{python}
import json
import os

with open(os.environ["QUARTO_EXECUTE_INFO"]) as f:
    info = json.load(f)

is_html = info["format"]["identifier"]["base-format"] == "html"

if is_html:
    # HTML-only code, e.g. an interactive widget
    ...
```
This pairs well with conditional content when both visibility and execution should depend on format. See Execution Context Information for the full JSON schema.